Quick spec
- File path
- Boombox/LockChime.wav
- USB filesystem
- FAT32 or exFAT
- Port
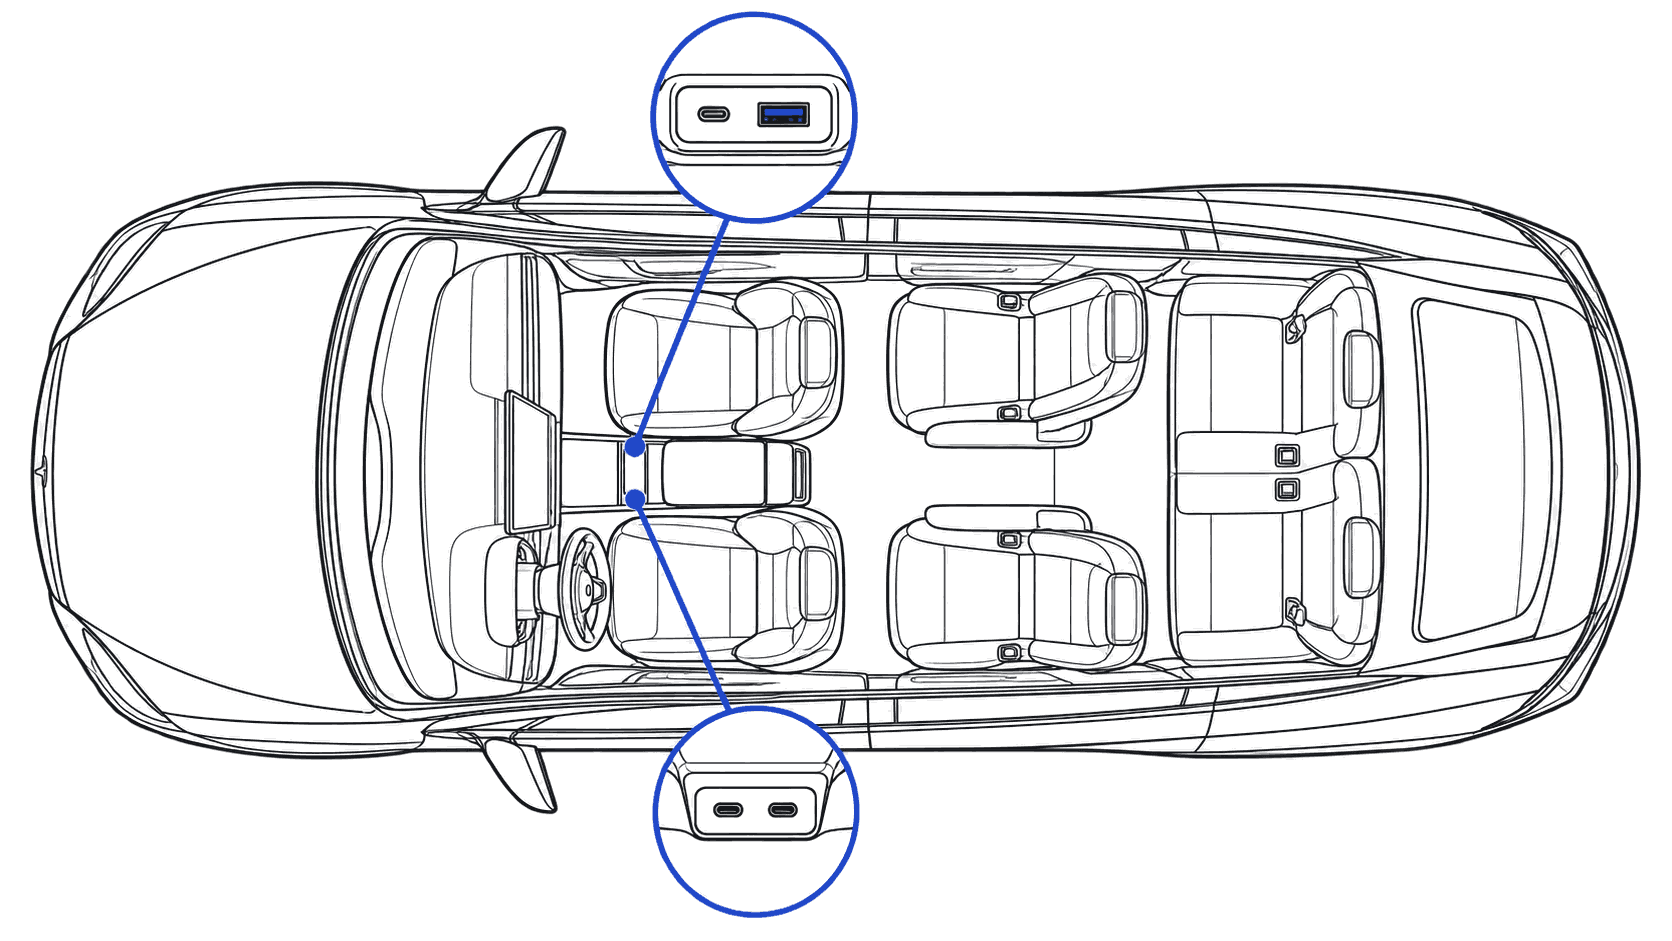
- a USB port that carries data (the glovebox port on newer cars; rear ports only charge)
- Hardware requirement
- External speaker (The 2021 refresh or later)
- Software floor
- 2023.44.25+
Steps
Copy to USB
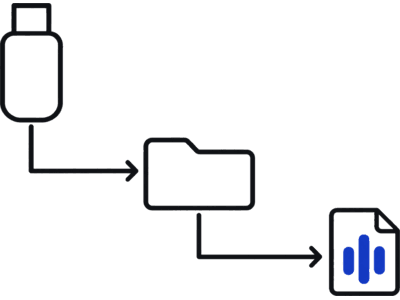
Download your sound. Every file arrives named LockChime.wav in 44.1 kHz, 16-bit WAV, the recommended spec for clean playback. On a FAT32 or exFAT USB drive, create a folder named Boombox and place LockChime.wav inside it. Full path: Boombox/LockChime.wav. The only hard Tesla requirement is a WAV file named LockChime.wav.
Library downloads and voice generator clips both arrive already named, so there is nothing to rename.
To format: on macOS, Disk Utility → Erase → MS-DOS (FAT); on Windows, right-click the drive → Format → FAT32. Any size works, even 64 MB.
Boombox takes a capital B. No subfolders: place LockChime.wav directly inside Boombox/, one file at a time.
Plug into your Tesla
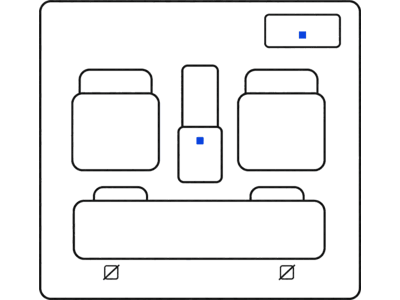
Insert the drive into a USB port that carries data (the glovebox port on newer cars; rear ports only charge). Give the car a few seconds to index the drive. Open Toybox → Boombox → Lock Sound, then choose USB.
If the first port does not show USB in the menu, try another data port.
Check first that Toybox → Boombox → Lock Sound exists: custom lock sounds need the external speaker, which Tesla lists from the 2021 refresh.
Lock the car
Lock the car to hear it.
Walk away or press the key fob. The sound plays through the external speaker.
FAQ
Do the falcon-wing doors affect lock sound playback?
We have found nothing to suggest they do. The lock chime plays through the external pedestrian-warning speaker.
Does a Model X from before the 2021 refresh support custom lock sounds?
Cars from before the 2021 refresh are not confirmed either way. Custom lock sounds need the external pedestrian-warning speaker, so check that Toybox → Boombox → Lock Sound exists in your car.
Where's the Model X USB data port?
A USB port that carries data, not a rear one. Step 2 has the details.